| Battle of Hastings 1066AD -
Complete Research Summary | SaxonHistory.co.uk |
|---|
| |
|---|
Summary of our Battle of Hastings 1066AD pages |
|---|
Please Note:
These pages make a lot more sense when they are read in order
| Introduction ▲ |
|---|
This page brings together the key findings from every section of the Battle of Hastings research on this site — from William's fleet and the Channel crossing through to the landscape of Hastings in 1066, Harold's army, the battle itself, and the contested question of where exactly it was fought.
Each section below gives a brief summary of what that page argues and why it matters. The research as a whole builds a coherent picture of 1066 that differs in significant ways from the standard account — William arrived in a landscape his intelligence network had been mapping for fifty years; Harold built a defensive fosse, not a shield wall; the shield wall of popular history is a myth; and the battle was fought by an army of around 6,500 men, considerably smaller than most histories suggest. None of these conclusions are presented as settled fact. All are argued from the evidence, with the reasoning set out in full on each page.
If you are new to the site this is a good place to start — read the summaries to find the topics that interest you most, then follow the links into the detailed analysis.
| | |
|---|
A - Where to find the Chronicles referenced ▲ |
|---|
 The research on this site draws on a small number of primary sources that are surprisingly accessible — most are available free online in translation, and several can be read in their original language too. This page collects direct links to all of them in one place, along with a brief note on what each source is, who wrote it, and where to find the best available version.
The sources range from the Anglo Saxon Chronicles — multiple manuscript versions, some translated and some in the original Old English — through to the Bayeux Tapestry online viewer, Master Wace's Roman de Rou, the Chronicle of Battle Abbey, the Carmen of Guy d'Amiens, and the invaluable Bosworth Toller Anglo Saxon Dictionary that underpins much of the place-name analysis elsewhere on the site. The Open Domesday Book and the National Library of Scotland map archive are also here, both of which are extraordinary free resources for anyone researching the period.
| B - The Ship List of William the Conqueror ▲ |
|---|
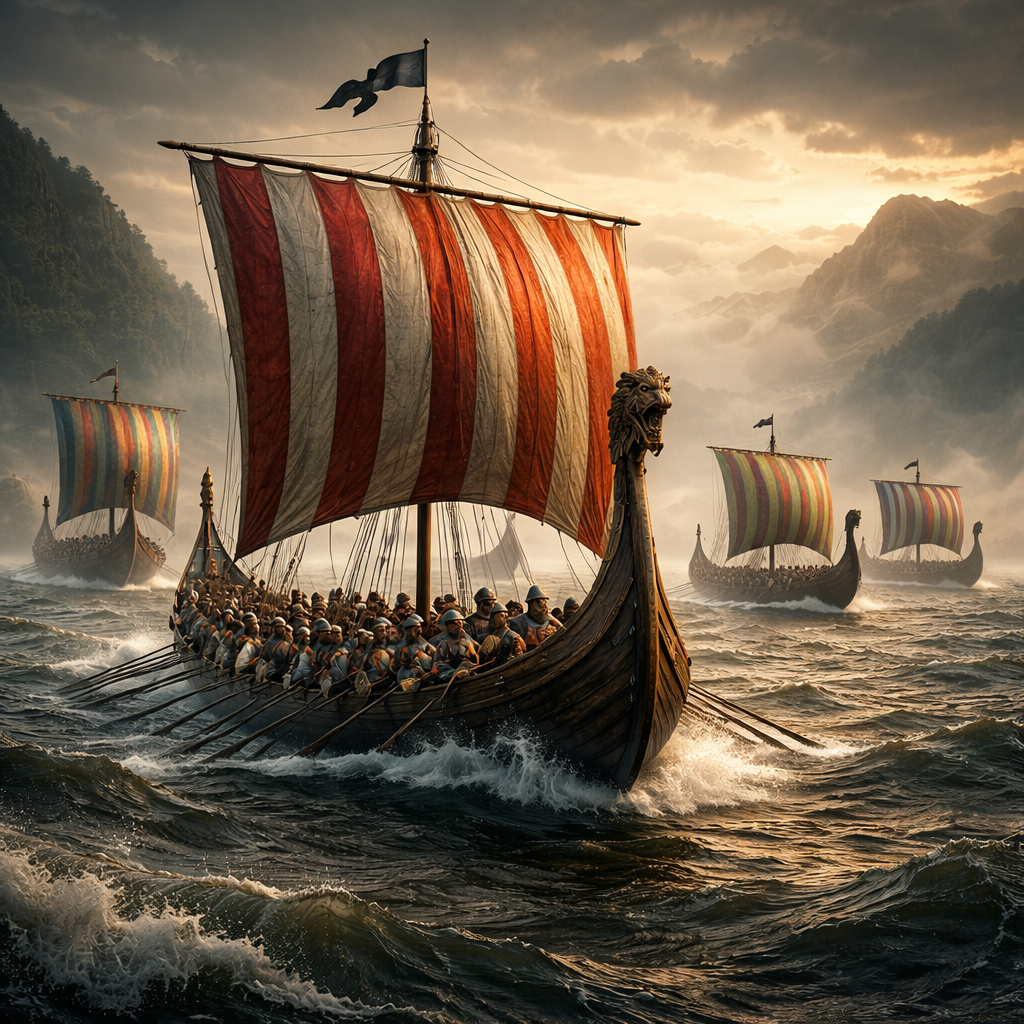 In the autumn of 1066, William Duke of Normandy assembled the largest invasion fleet seen in the Channel since the Romans. But how large was it, who built it, who paid for it, and what could it actually carry?
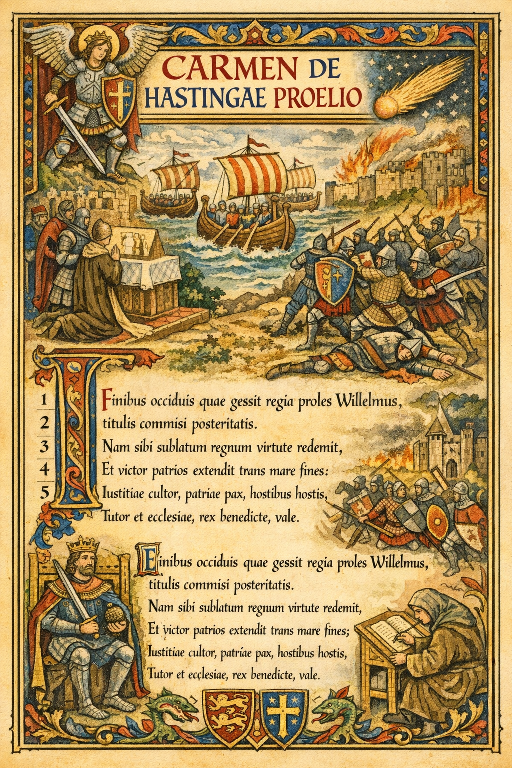
The Ship List of William the Conqueror is one of the few documents from the period that gives us hard numbers. Originating most likely from the monastery at Fécamp shortly after the conquest, it records the agreements made between William and fourteen of his principal vassals — the ships each was to provide, the harbours they sailed from, and the rewards they subsequently received in the conquered territories.
This page works through that document line by line, cross-references it against the chronicle accounts of Master Wace, Orderic Vitalis and the Carmen, and uses the resulting figures to calculate what the fleet could realistically have carried in terms of men, horses and supplies. It also examines William's flagship the Mora — her design, her captain, her papal banner, and the intriguing question of how she got her name.
The numbers, as always, raise as many questions as they answer. But they are the closest thing we have to an invasion manifest for the most consequential Channel crossing in English history.
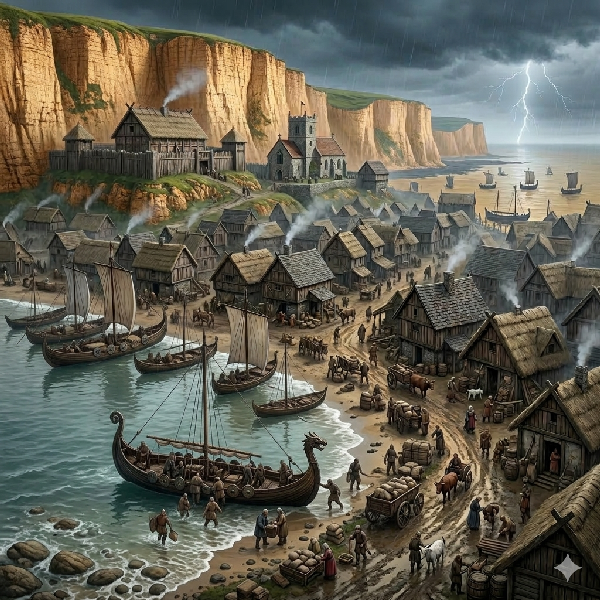
| C - Ships - Drekka, Snekkja and Knarr ▲ |
|---|
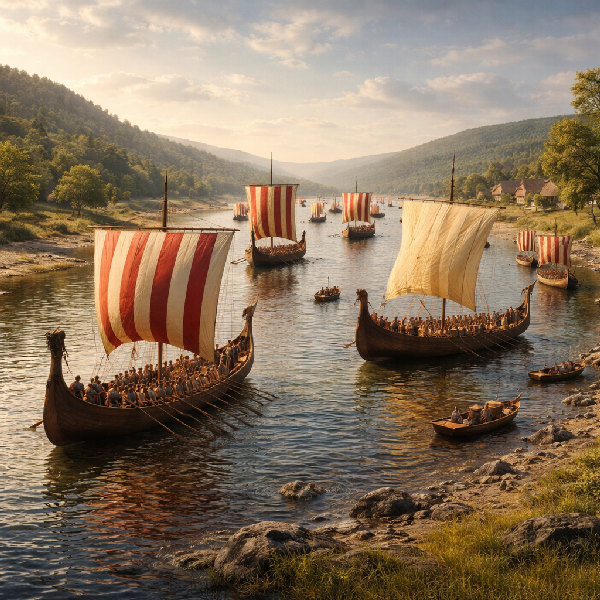 When William Duke of Normandy crossed the Channel in September 1066, he was not commanding a purpose-built invasion fleet. He was commanding a collection of fishing boats, merchant vessels and coastal warships, crewed by men whose seafaring tradition stretched back two centuries to the first Norse settlers of Normandy.
Understanding what those ships were actually capable of is not a footnote to the story of the Battle of Hastings — it is central to it. The type of vessel determines how fast the fleet could sail, how many horses each ship could carry, how shallow an anchorage it could use, and how close to shore it could land without harbour infrastructure. Every major decision William made on the crossing — the route, the overnight stop, the landing point — was shaped directly by the physical limitations of his ships.
This page examines the two principal vessel types in William's fleet: the Snekkja, a long narrow warship capable of beaching under oar power, and the Knarr, a wider cargo ship that made the horse transport possible but constrained the fleet's overall speed. It works through the capacity of each type for men and horses, uses the Carmen's crossing timings to establish the fleet's average speed, and examines one physical constraint that has been largely overlooked — the length of a Viking anchor chain, and what that meant for where the fleet could safely spend the night mid-Channel.
The ships are not background detail. They are the evidence.
| D - Sailing - Dives sur Mer to St Valerie ▲ |
|---|
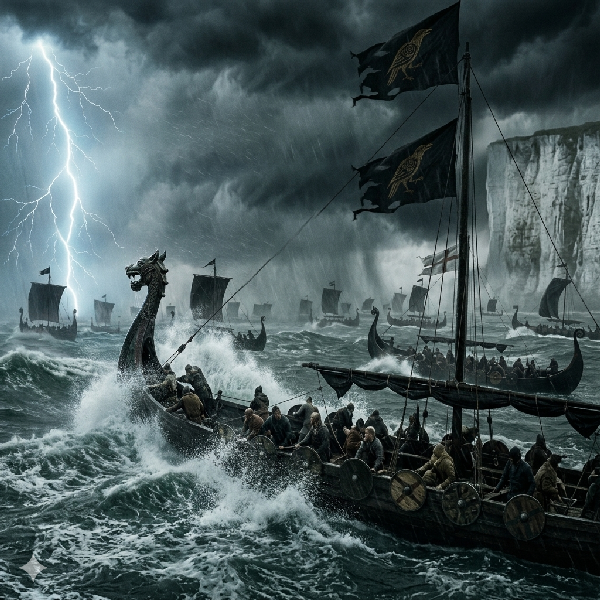
William the Conqueror's invasion of England in 1066 is one of the most studied military operations in history. But between the assembly of the fleet at Dives-sur-Mer and its eventual crossing to England, something went badly wrong — and William went to considerable lengths to make sure nobody found out.
A storm appears to have struck the Norman fleet as it left Dives. The slower, non-oared transport and supply ships were driven along the Alabaster Coast by a wind that veered from west to north-west, and as the low-pressure system approached, the pressure gradient between it and the residual high to the north would have increased, leading to strengthening winds. This escalation in wind strength, combined with a veering wind direction, would have made control of slower supply vessels particularly difficult, increasing the likelihood of wrecks along the exposed French coast.
The faster warships with oarsmen fought through to St Valérie-sur-Somme. William had his drowned men buried in secret.
The difference between the ship count recorded in the Ship List at Dives — 777 vessels — and Master Wace's figure of 694 ships leaving St Valérie suggests that approximately 83 ships were lost. At the likely composition of those vessels, this was not primarily a loss of fighting men. It was a loss of horses, fodder, food and equipment — the supplies an invading army needed to survive once it landed.
This page examines what the storm did, why the secrecy mattered, and what the weeks of further delay at St Valérie may really have been about. The wind was part of it. But William may also have been waiting for something else entirely.
The movement of the fleet from Dives to Saint-Valery-sur-Somme can be interpreted within a wider atmospheric pattern affecting September 1066. A persistent high-pressure system over northern England or the North Sea likely produced prolonged northerly winds in the Channel, preventing a direct crossing. The events described here may represent a transitional phase as this blocking pattern began to weaken.
| E - St Valerie to Pevensey ▲ |
|---|
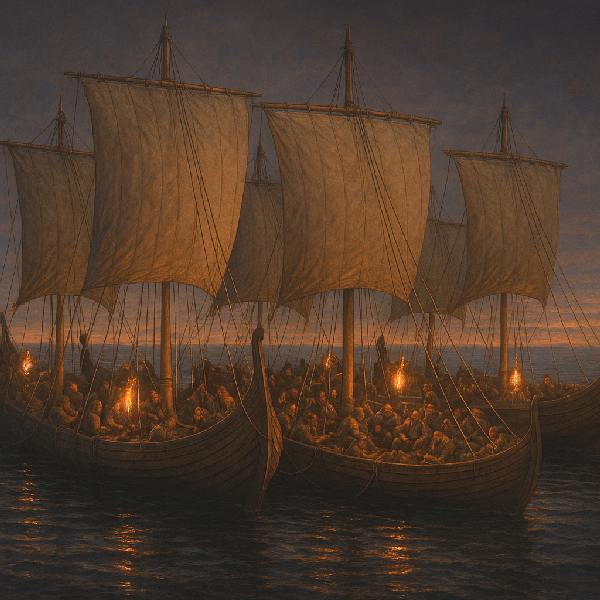 On the night of 29 September 1066, William the Conqueror's fleet of nearly 700 ships was somewhere in the middle of the English Channel — in darkness, with no moon, carrying several thousand men and several hundred horses.
Then it stopped.
The Carmen de Triumpho Normannico records that William ordered his fleet to anchor in open water and wait for dawn before completing the crossing. For nearly a thousand years, nobody has been quite sure where.
This page works out the answer. The method is straightforward: take the Carmen's timings, establish the fleet's average speed, and then apply a physical constraint that has been largely overlooked — the length of a Viking anchor chain. At approximately 11 metres, as established by the only surviving example from Ladby in Denmark, a Viking vessel could anchor safely only where the water depth was 6 metres or less. Combined with the higher tide levels of Norman times, that constraint eliminates most of the English Channel entirely.
What remains, after working through every shoal and sandbank between St Valérie and the English coast, is a single candidate: the Colbart Ridge.
This page also revisits the New Romney incident — why two ships from a fleet of nearly 700 ended up on the wrong stretch of coast, what received them so hostilely that William destroyed the town after the battle, and how that episode connects directly to the storm that damaged the fleet at Dives two weeks earlier.
The crossing was not simply a matter of waiting for a south wind. It was a logistical problem solved under considerable pressure — and the route it took was determined as much by the depth of the sea as by the direction of the wind.
| | |
|---|
F - The Coastline and Landscape ▲ |
|---|
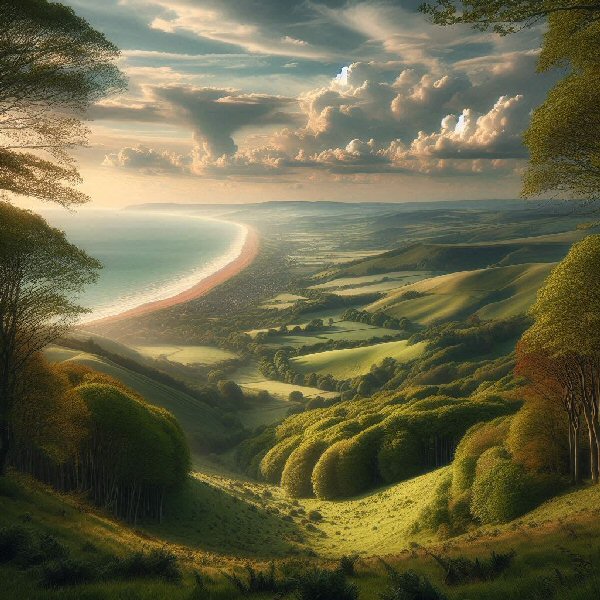
 The Battle of Hastings was not fought where it was fought by accident. The landscape of 1066 made it almost inevitable.
In October 1066 the Hastings peninsula was a very different place from the Sussex coast we know today. High Tide levels approximately 4.5 metres higher than the present turned large areas of low-lying ground into tidal inlets and salt marsh. The Romney Marsh system extended far further inland than it does today, making the eastern approaches to Hastings effectively impassable to an army. To the north and west stretched the great oak forest of Andredsweald — dense, largely trackless, and crossable only on the old Roman roads and Celtic ridgeways that threaded through it.
The result was a peninsula that was almost entirely surrounded by water, marsh and forest. For William, newly landed with his fleet at anchor in the bay, this was close to an ideal defensive position — his flanks and his ships were protected, and his enemy had only one realistic approach route. For Harold, marching south from London with the Saxon army, the landscape offered no flexibility. He had to come straight down the ridge road and meet William on ground that William had chosen.
This page maps shows a different landscape in 1066AD than today — the sea inlets, the forest boundary, the eroded coastline, the Roman roads and the ridgeways — and explains how each element shaped the strategic situation before the battle began. The landscape did not just provide a backdrop to the Battle of Hastings. It determined the outcome before a sword was drawn.
| | |
|---|
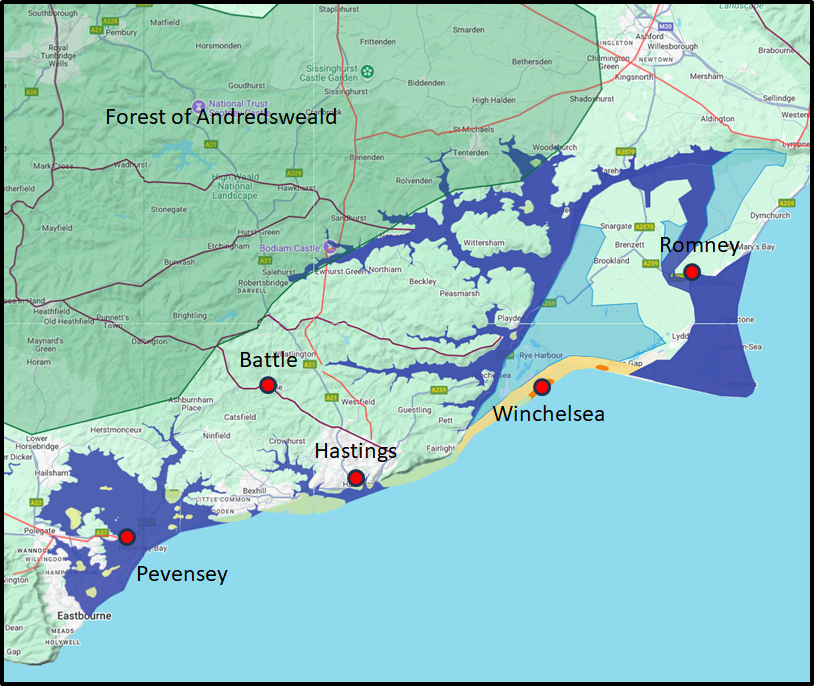
G - New Romney Destroyed ▲ |
|---|
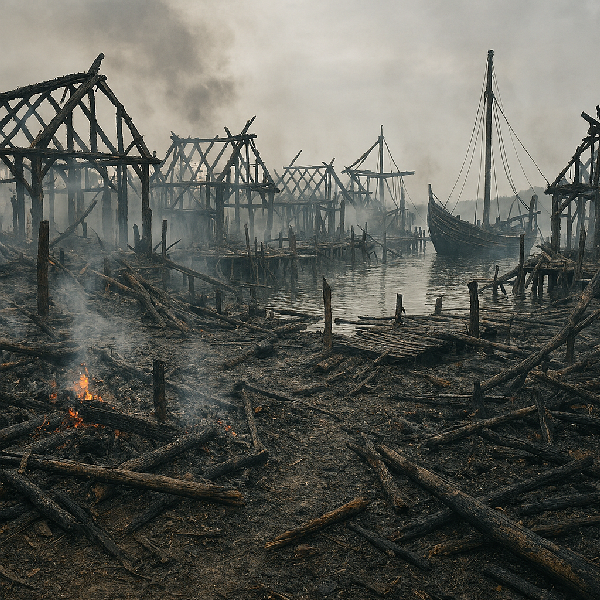 After the Battle of Hastings, with Harold dead and England effectively won, William the Conqueror did something that the chronicles record but historians have never fully explained. Before marching on London, he turned east and visited a coastal settlement on the Romney Marsh.
Master Wace says some of his men had arrived there by accident and been killed by the locals. Orderic Vitalis says they had landed in error and been routed. Both record William's response as deliberate and severe. Archaeologists working in New Romney have since found a late 11th century fire layer, though whether this was William's doing or accidental cannot be confirmed.
The standard explanation — that a handful of ships simply got lost — is difficult to accept at face value. A fleet of nearly 700 vessels sailing together does not easily send ships to the wrong coast by mistake. This page examines what the chronicles actually say, what we know of the Romney area in 1066, and whether the answer might lie not in the crossing itself but in the storm that damaged the fleet weeks earlier at Dives.
One possibility is that ships overloaded as a consequence of those storm losses struggled on the crossing and made for the nearest shore. Another is that William had arranged for distressed vessels to make for Winchelsea, and some reached the wrong port. The evidence does not allow certainty. What it does allow is a more considered reading of why William reacted as he did — and why the Romney people may have responded the way they did to unexpected armed arrivals on their shore.
| | |
|---|
H - Why Hastings? ▲ |
|---|
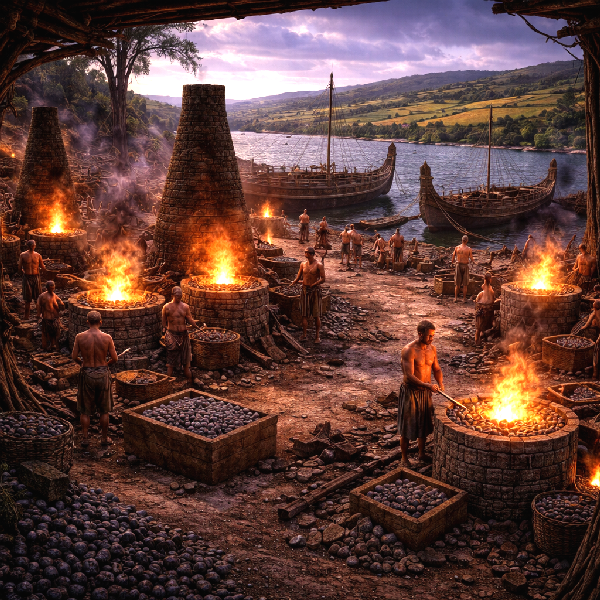 William the Conqueror crossed the Channel in September 1066 with nearly 700 ships, several thousand men, and several hundred horses. He landed at Hastings. The standard explanation is that Hastings was conveniently close to Normandy and offered a defensible beachhead.
That explanation is not wrong. But it is incomplete.
This page argues that William chose Hastings for a reason that goes deeper than geography and closer crossing distance — and that the same reason explains why the Romans built their shore forts here, why the Saxons held this corner of England independently for over three centuries, why the Vikings wintered at Appledore in 893AD, and why the Normans immediately secured both Pevensey and the Hastings burh on the day they landed.
The answer is ships. More precisely, the ability to build them.
The stretch of coast between Eastbourne and New Romney combined everything a medieval shipbuilder needed: high quality Wealden oak close to the coast, abundant iron for nails and fittings, and navigable tidal inlets giving direct access to the sea. For a commander who had already lost approximately 83 vessels in the storm between Dives and St Valérie, and who faced a potentially long campaign far from home, seizing the most productive shipbuilding area on the English south coast was not a bonus. It was a strategic necessity.
It also sent Harold a message he could not ignore — and may have been precisely calculated to do so.
| | |
|---|
I - Duke Williams army size and logistics ▲ |
|---|
 How large was Duke William's invasion force at the Battle of Hastings in 1066? It's one of medieval history's most debated questions, and the surviving sources are frustratingly vague. On this page we work through all the available evidence — from the Carmen de Triumpho Normannico to Master Wace's ship counts — to build a logical, numbers-based estimate of William's total force.
That means not just the fighting men, but the horses, the camp followers, the supplies, and the 694 ships needed to carry them all across the Channel. The result is a picture of a military operation far larger and more complex than most accounts suggest.
| | |
|---|
J - Landscape of Haestingaport ▲ |
|---|
 What did the landscape around Hastings actually look like on the eve of the Norman invasion in 1066? The coastline, rivers, and harbours of that era bore little resemblance to what we see today. Sea levels were higher, the Asten river followed a very different course, and Hastings itself sat on a peninsula shaped by water on three sides. Understanding this lost landscape is crucial to understanding the battle — where William landed, how he moved his army, and why the ridge road north towards Battle was so strategically important.
This page reconstructs that landscape using a combination of LiDAR elevation data, geology, and a sequence of historical maps stretching back to Christopher Saxton's survey of 1579. By working backwards through time, and applying a coastal erosion rate of approximately 0.8 metres per year alongside evidence for a high tide level some 4 metres above modern levels, we can piece together a picture of Haestingaport as it may have appeared in 1066AD.
| | |
|---|
K - Hastings and its associations with Normandy ▲ |
|---|
 Long before William of Normandy set foot on English soil, Normandy already had a quiet foothold on the Sussex coast. For nearly fifty years prior to the invasion, the Benedictine Abbey of Fécamp had administered the Manor of Rameslie — the lands encompassing modern Rye, Old Winchelsea, and the outskirts of Hastings — collecting fishing tithes, controlling trade, running shipyards, and maintaining a priory at Rye staffed by monks who knew the local landscape intimately.
This page explores that relationship and its remarkable consequences for 1066. It begins with Queen Emma's role in transferring Rameslie to Fécamp in 1017, traces the abbey's growing influence over the south coast ports through the turbulent politics of the Godwin era, and follows the thread through to the invasion itself. The evidence suggests that when William landed at Pevensey, he was not entering unknown territory. He was arriving in a landscape his intelligence network had been studying for half a century.
| | |
|---|
L - The Landing , where was it ? ▲ |
|---|
 Where exactly did Duke William land his invasion fleet in September 1066? The chronicles tell us "Pevensey" — but Pevensey was a Roman fort, a name applied to a wide stretch of coastline, not a single pinpoint on a map. When you factor in 694 ships, 3,000 horses, nearly 13,000 people, and the physical reality of the 1066 coastline, the question becomes far more complex and far more interesting than it first appears.
This page works through every proposed landing site systematically — from Pevensey Castle itself to the Brede valley — testing each against a consistent set of criteria drawn from the chronicles, the Domesday evidence, the landscape reconstruction, and some basic geometry. How much coastline do 694 ships actually need? Which stretch of shore fits the Carmen's description of a "sheltered arc of strand"? Where does the pattern of wasted and undamaged Domesday villages point? And what does the destruction of two Norman ships at New Romney tell us about the route the main fleet did not take?
The answers, taken together, narrow the landing to a surprisingly specific stretch of coast.
| | |
|---|
M - The two or three Castles ▲ |
|---|
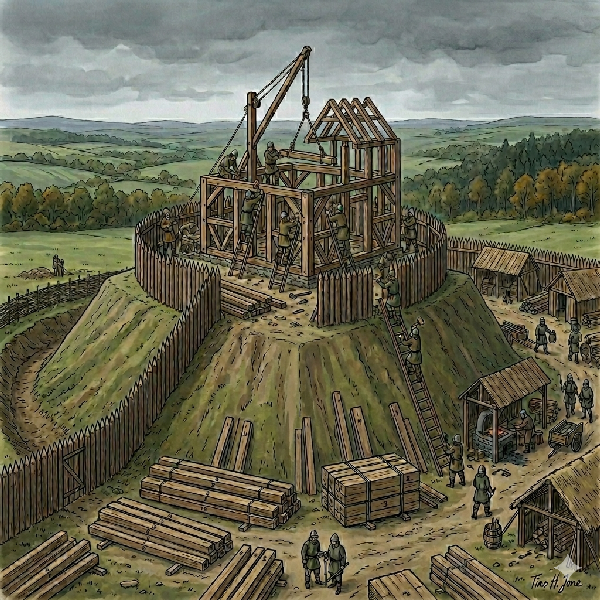 Within hours of landing on English soil, William of Normandy was already building. The chronicles are consistent on this point — a fort went up with remarkable speed, assembled from pre-cut timber brought across the Channel in the holds of his cargo ships.
But how many fortifications did William actually establish, and where were they?
This page works through all the chronicle evidence to argue that William secured not one but three defensive positions in the days after landing: Pevensey Castle, the ancient Roman shore fort that had been in Godwin family hands; a prefabricated "flat-pack" fort erected at his coastal camp; and Alfred the Great's Burh at Hastings, the existing Saxon defensive earthwork that controlled the ridge road north. Each served a different strategic purpose, and together they gave William a secure base from which to challenge Harold. The most intriguing question is where that prefabricated fort actually stood — and there is one candidate, a moated site at Cooden, that fits the evidence rather well.
| | |
|---|
N - The Warning to Harold and its implications ▲ |
|---|
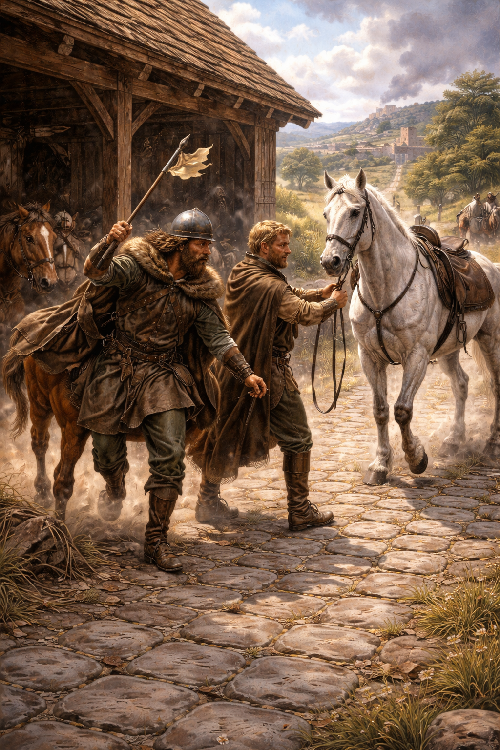 William landed at Pevensey on 28 September 1066. Harold was in York, 280 miles away, celebrating a hard-won victory at Stamford Bridge. Someone had to ride north and tell him — and fast. But how fast? And what happened next?
This page works through the logistics of that warning in precise detail, tracing the most likely messenger route up the old Roman roads from Hastings to York, applying realistic travel speeds for messengers, mounted Huscarls, Thegns, and foot soldiers, and building a day-by-day timeline from the landing to the morning of the battle on 14 October. The numbers that emerge raise a question that the chronicles rarely address directly: given the distances and the speeds involved, which counties could actually get troops to Battle in time — and which could not? The answer reshapes how we think about the army Harold led onto Senlac Hill.
| | |
|---|
O - The Long March from York and the Messenger Network ▲ |
|---|
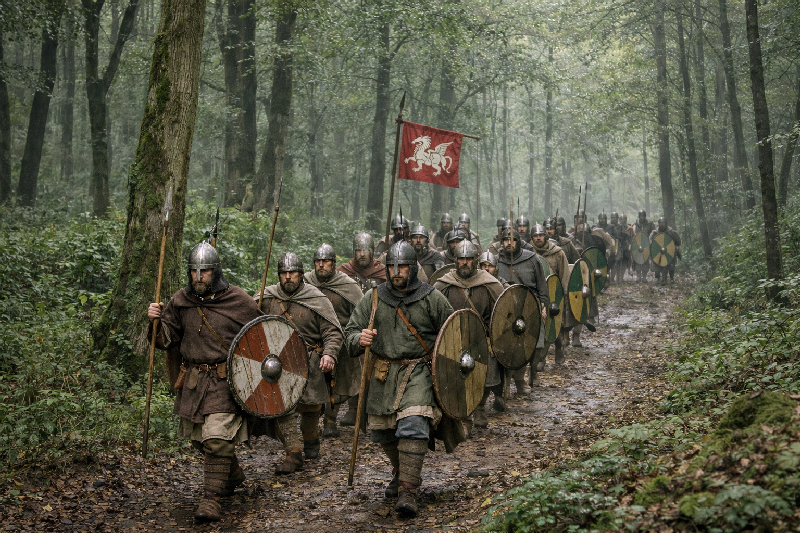
 When William's fleet landed at Pevensey on 28th September 1066, Harold was in York celebrating his victory at Stamford Bridge. The news had to travel 280 miles north before he could respond, and then a summons had to fan out simultaneously across the entire kingdom. The speed at which that happened determined not just when Harold marched, but which troops from which counties could reach Hastings before 14th October.
Master Wace, writing around 1160, records the following counties as having sent troops to fight at Hastings:
"Those of London had come at once, and those of Kent, of Herfort, and of Essesse; those of Suree and Sussesse, of St. Edmund and Sufoc; of Norwis and Norfoc; of Cantorbierre and Stanfort; Bedefort and Hundetone. The men of Northanton also came; and those of Eurowic and Bokin keham, of Bed and Notinkeham, Lindesie and Nichole. There came also from the west all who heard the summons; and very many were to be seen coming from Salebiere and Dorset, from Bat and from Sumerset. Many came too from about Glocestre, and many from Wirecestre, from Wincestre, Hontesire, and Brichesire; and many more from other counties that we have not named, and cannot indeed recount."
This is not a list of counties close to Hastings. It includes Gloucester, Worcester, Somerset, Norfolk, Yorkshire and Chester — places between 130 and 300 miles from the battlefield. For troops from those counties to have arrived in time, the summons must have reached them within days of William's landing. The calculations on Page L2 show that a messenger speed of approximately 70 miles a day is not a best-case assumption — it is a minimum requirement. Drop below it and the counties Wace names start disappearing from the possible list. The messenger system either worked at close to 70 miles a day, or Wace's account of the army's composition is wrong. Since Wace's county list is detailed and otherwise coherent, the more productive question is what kind of system could have sustained that speed — and how long it had been operating.
It is important to be clear about what follows. There is no document that directly describes a Saxon royal messenger network. No chronicle names the waypoints, no administrative record lists the horses, no royal decree survives ordering the system into operation.
What is presented here is reasoned inference from circumstantial evidence — the Roman infrastructure that preceded it, the Saxon institutions that could have sustained it, the military behaviour of successful Saxon kings that is difficult to explain without it, and above all Wace's county list, which is the closest thing we have to a performance record of the system in operation. The argument is that this is the most parsimonious explanation for evidence that would otherwise be very hard to account for. Readers should weigh it as inference, not established fact — but inference grounded in six centuries of institutional continuity and the hard arithmetic of who could have reached Hastings in time.
The answer takes us back not to 1066, but to 43AD.
| | |
|---|
P - Harold`s Route Choice: The Crowborough Convergence ▲ |
|---|
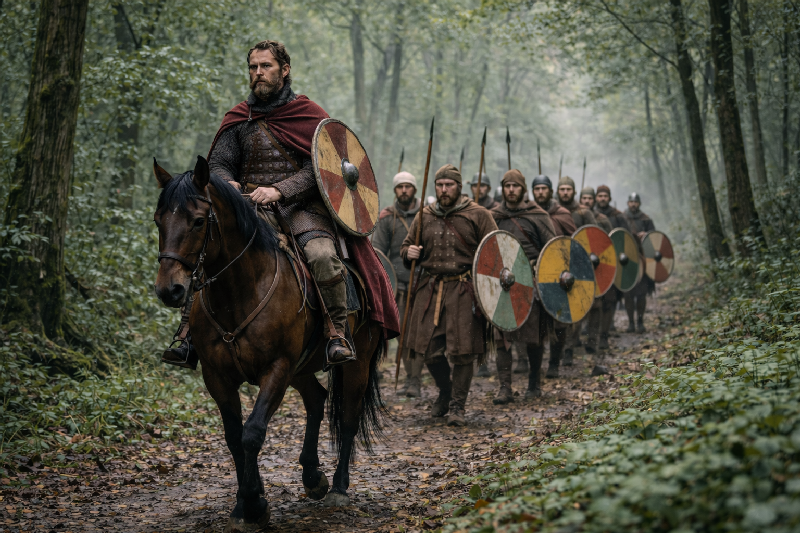 Harold's army at Hastings has puzzled historians for centuries. Master Wace names contingents from Gloucester, Worcester, Somerset and Dorset fighting on 14 October — counties between 100 and 130 miles from the battlefield. How did their troops get there in time?
This page answers that question with arithmetic. If all roads led through London, they couldn't have. A Fyrd soldier marching on foot at 17 miles per day from Bath, routing through London, would need to have set out before the news of William's landing had even arrived. The London route makes Wace's list physically impossible.
There is, however, one route that makes it possible — just. The western ridgeway from London south via Godstone, East Grinstead and Crowborough to Battle allowed Harold's army to act as a moving convergence point, gathering western and southwestern contingents as it marched rather than waiting for everyone to assemble in London first. This page works through the mathematics of that convergence step by step, and argues that Harold's choice of the Crowborough route was not simply a path through the forest — it was a strategic necessity dictated by the geometry of time and distance.
| | |
|---|
Q - Forces available to Harold ▲ |
|---|
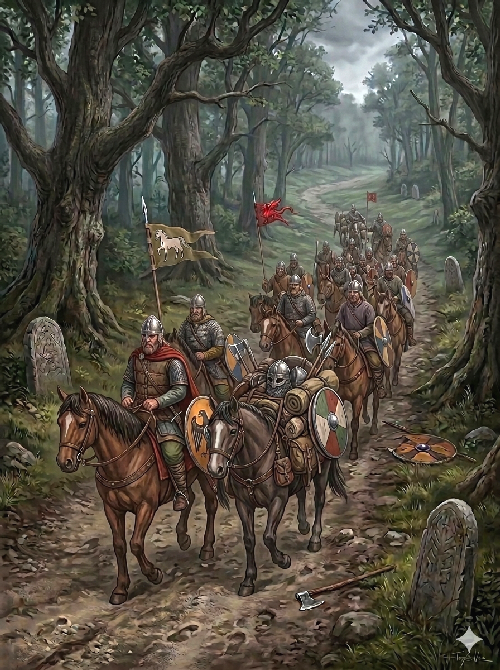
 How many men did Harold have at Hastings? Popular histories often cite figures of 10,000 to 15,000. This page arrives at a very different answer — around 6,500 to 7,000 — using three completely independent lines of evidence that all converge on the same number.
The first is Domesday Book. The county-by-county population data compiled in 1086 gives us a theoretical pool for the select Fyrd, the levy of freemen who owed military service in proportion to their landholding. The second is march feasibility. Not every county could contribute Fyrd — the geometry of time and distance, worked out from William's landing date and the travel speeds of men on foot, draws a hard boundary around which counties could physically reach Battle before 14 October. The third is the tactical geometry of the battlefield itself. If Harold defended a linear fortification rather than a packed shield wall, the number of men needed to garrison it and maintain a reserve tells us something about the minimum viable army size — and it matches.
The result is a picture of Harold's army that is more precise, more geographically specific, and considerably smaller than most accounts suggest. It also reinterprets what Wace's county list actually records: not a roll call of everyone who marched to Battle, but a record of which counties sent mounted men — because their Fyrd, for most of the distant shires, simply never arrived in time.
| | |
|---|
R - The Hoar Apple Tree ▲ |
|---|
 The Hoar Apple Tree is one of the most quoted landmarks in the story of the Battle of Hastings — Harold's famous muster point, where the English army assembled before marching to meet William. The trouble is, it appears in only one of the six surviving versions of the Anglo Saxon Chronicles, and even that single reference is far from straightforward.
This page looks closely at what the original Old English text actually says, works through the possible translations of haran apuldran using the Bosworth Toller dictionary, and challenges the popular assumption that the muster took place on Senlac Hill in the town of Battle.
Strategically, that location makes little sense — it sits too close to the Norman camp for individual Fyrd units to arrive safely before the army was assembled. A far more credible muster point lies further back along the ancient ridgeway, deep enough in the Andredsweald to give Harold's forces time to combine before William's scouts could identify them. The evidence, such as it is, points somewhere near Broad Oak — and the Crowborough ridgeway that runs through it connects neatly to everything else we know about how Harold's army converged in October 1066.
| | |
|---|
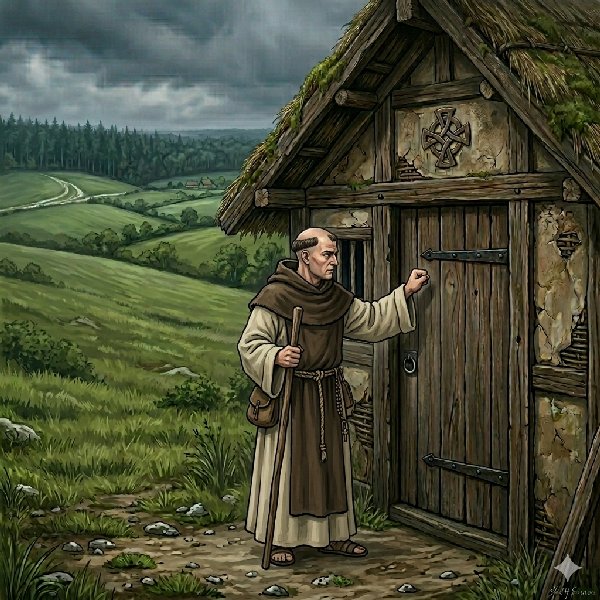
S - The Intermediary ▲ |
|---|
 Before the Battle of Hastings there was diplomacy. Three chronicles record that messages passed between William and Harold in the days before the fighting began — but they describe it differently enough that most readers assume the accounts contradict each other.
This page argues they don't. Read in sequence rather than in competition, they describe two separate exchanges: Harold reaching out first through his own French-speaking messenger, and William responding through a Fécamp monk delivering a formal ultimatum that was as much a legal and theological statement as it was a negotiating position.
The identity of William's envoy is the most interesting question. William of Poitiers names him specifically as a monk of Fécamp. The Carmen describes him as eloquent, bilingual, and able to navigate the Sussex countryside unseen.
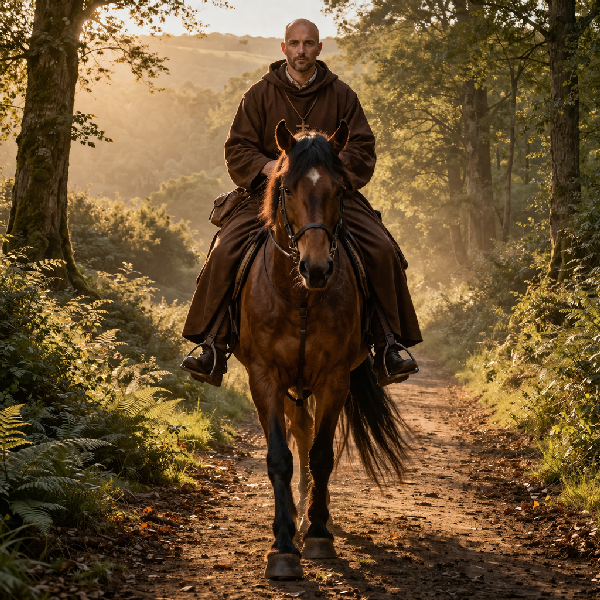
Both descriptions fit one candidate far better than any Norman court chaplain who had crossed the Channel with the fleet — a monk from the Fécamp priory at Rye, embedded in the local landscape for nearly fifty years, who knew the roads, the people, and the politics of the Hastings area in a way no recent arrival could. That William used the local Fécamp network for this final exchange before battle — the same network that had been gathering intelligence about the English coast for decades — tells us something important about how thoroughly the invasion had been prepared.
| | |
|---|
T - Places named in the Chronicles ▲ |
|---|
 Three place names recorded in the chronicles and land grants of the decades after 1066 hold the key to understanding where the Battle of Hastings was actually fought — and none of them survives clearly in the modern landscape.
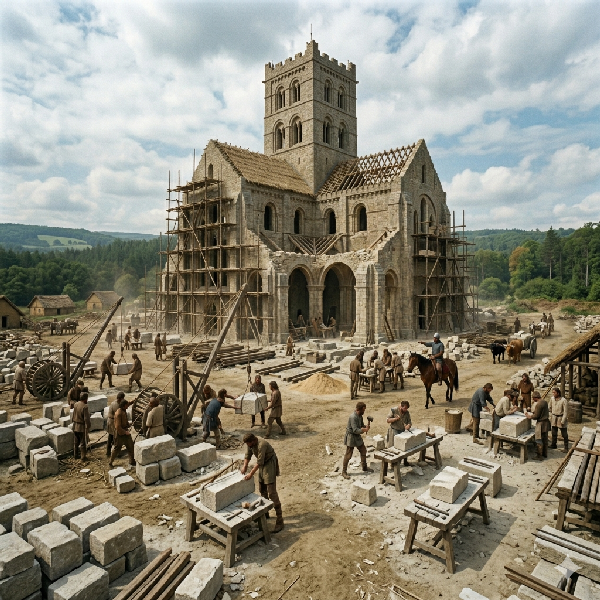
Senlac, where the English forces took their position; Hecheland, the hill where William's army assembled; and Herste, where the monks of Battle Abbey originally wanted to build, before William overruled them. Each has been debated, mistranslated, and in one case turned into a Victorian romantic legend.
This page introduces all three, traces their appearances in the chronicles and Abbey land records, and flags the critical problem that runs through all of them: Senlac comes from a single source, and Hecheland and Herste both come from monks who had a direct institutional interest in placing the battlefield exactly where their Abbey stood. That doesn't make the evidence useless — but it does mean these names cannot simply be treated as independent confirmation of each other. The detailed analysis of each name, its derivation, and its most likely location is set out on the pages linked below.
| | |
|---|
U - Evidence for the Battlefield Malfosse ▲ |
|---|
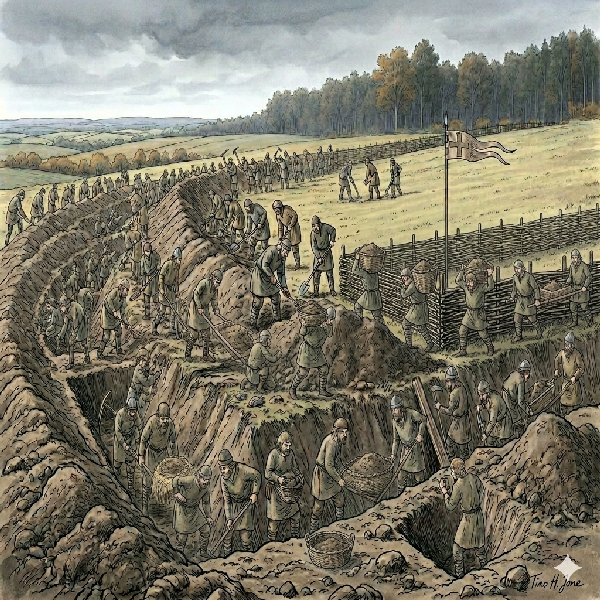 The shield wall of popular history — Saxon farmers holding a solid line of interlocking shields through hours of crossbow fire and cavalry charges — is a myth. What held William's army at bay for most of 14 October 1066 was earth, timber, and the military ingenuity of a king who had seen exactly what Norman and Breton cavalry could do, and built a fortification specifically designed to neutralise it.
This page makes the case that Harold constructed a defensive fosse — a ditch with the spoil thrown up on the Saxon side and topped with wattle fencing — across the front of his position before the battle began. Five independent chronicle sources, from William of Jumièges to the Battle Abbey Chronicles, all record a ditch at the battlefield.The probability that all five invented the same detail independently is negligible. The question is not whether the fosse existed, but what it was, how it worked, and why Harold had no choice but to build it.
The answer requires understanding three weapons Harold knew he would face: the Breton cavalry whose feigned retreat tactics had destroyed the better-armed Franks at Jengland in 851AD; the Norman crossbow, capable of punching through Saxon shields and ring mail at close range; and the Norman handbow, raining arrows from overhead once flat fire proved useless.
The fosse addressed all three simultaneously. That Harold held for seven hours against the most sophisticated combined arms force in Western Europe — and came close to winning — is a military achievement the chronicles recorded but history has largely ignored.
| | |
|---|
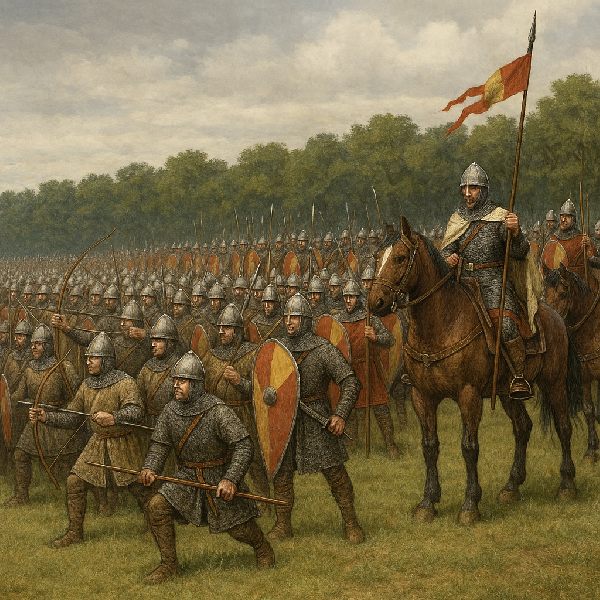
V - The Battle ▲ |
|---|
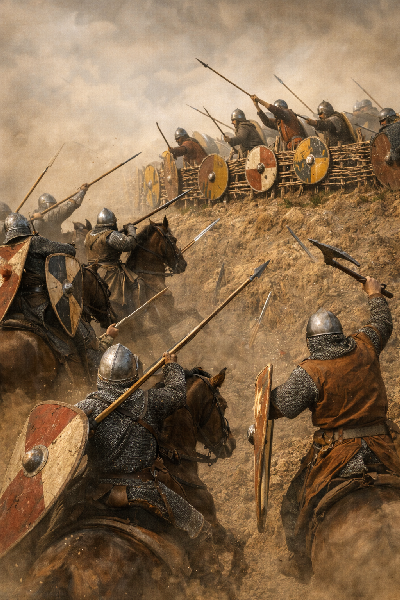 How did an army of Saxon farmers hold off the elite knights of Normandy for an entire day? The conventional answer — a disciplined shield wall of interlocking shields — doesn't survive serious scrutiny. A line of farm labourers holding handheld shields cannot withstand hours of crossbow fire, javelin charges and cavalry assaults. Something else was keeping the Normans out.
This page presents a step-by-step reconstruction of the Battle of Hastings built on a different premise: that Harold's army did not stand in the open behind shields, but behind a chest-high wattle fence fronted by a dug ditch studded with sharpened stakes — a field fortification the Saxons had the tools, the manpower and the time to build before the battle began. The reconstruction works through seven phases of the battle from the Norman opening barrage to Harold's death in the late afternoon, showing how each episode recorded in the chronicles maps logically onto this model.
It doesn't claim to be the definitive account. It claims to be the most coherent one.
| | |
|---|
W - The Battlefield Location ▲ |
|---|
 Where exactly was the Battle of Hastings fought?
The answer most people know — on the ridge where Battle Abbey now stands — rests almost entirely on the word of the monks who built the Abbey and had every reason to place the battlefield directly beneath their foundations. The physical evidence tells a different story: after more than a century of searching, only one artifact has been found anywhere in the area that might date to the battle, and its provenance is unknown.
This page takes a systematic approach to the question. Rather than starting from the Abbey and working backwards, it assembles every landscape clue from across all the major chronicles — 21 features in total, from the height and width of the hill to the distance from Hastings, the presence of a forest, a fosse, a steep slope, a ridge behind the Normans, and a bridge that collapsed during the retreat — and asks which of the twelve proposed alternative sites satisfies the most of them. The result is a genuinely open analysis of one of the most contested questions in English history, with a map showing how march distances from the Norman coastal base constrain the possible locations to a surprisingly specific corridor.
| | |
|---|
Y - A Bridge Collapses after the Battle ▲ |
|---|
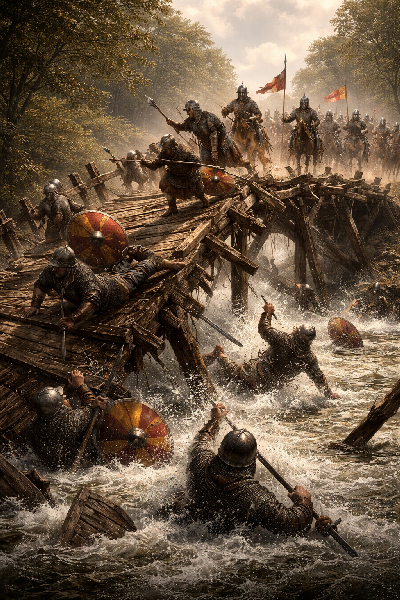 Master Wace records one of the lesser-known details of the Battle of Hastings aftermath: as the surviving Saxon army fled, so many men crowded onto a bridge that it collapsed under the weight, and many fell into the deep river below. The obvious assumption is that this was London Bridge — but the numbers simply don't support it.
London Bridge is 63 miles from the battlefield. At any realistic running speed, even with Norman cavalry in pursuit, fleeing soldiers would take between 26 and 36 hours to cover that distance. By the time any significant number reached the Thames the pursuit would have long since ended and the crowd would have thinned out naturally. A distribution analysis of 6,000 men on the roads shows the flow arriving at London Bridge never exceeds around ten people per minute — nowhere near enough to collapse a bridge.
This page works through the escape routes available from the battlefield, considers what percentage of terrified and largely untrained levy troops would realistically head into the Andredsweald rather than follow the road, and identifies a far more plausible candidate for the collapsed bridge — just seven miles from the battlefield at Bodiam, where the tidal Rother would have been deep, the Saxons would have been funnelling into a narrow crossing, and the Normans would genuinely still have been close behind.
| |
Please note:
the majority of the images shown have been created using 'Microsoft Designer', 'ChatGpt' or 'Google Gemini' Artificial Intelligence systems, so there may be a few discrepancies in these, but they show an approximation of my requests.
|
|
|
;)
)
)
)
)
)
)
)
)
)
)
)
)
)
)
)
)
)
)
)
)
)
)
)
)